The Trike
Today is an exciting day, the project is entering the real world. I bought the trike! I ended up getting a used Catrike 700. It is a bit lighter than the greenspeed one I was looking at, it has better components, and it is vertically shorter. All of this should translate to a faster velomobile. That being said, I am going to have to totally redo my CAD model. This was somewhat expected, it was hard to judge things based solely on pictures and specs. It is probably a blessing that I have to redo the design. It will be much easier now that I can actually measure the body of the trike (lengths, angles, etc). One thing I noticed is that I am definitely going to have to make a larger channel down the middle than I thought if I want to be able to see anything out the front (seems important).

Getting the thing into my apartment was a pain. I got a better workout carrying it up two flights of narrow stairs than I did on the 12 mile ride back from where I bought the trike.
Building A Scale Model
As I have been researching how others have been building these things in the way I am intending to build it, I need to learn how to do a few things before I feel confident I will be able to build the whole thing in this way. I don’t want to bite off more than I can chew right away.
The most notable is using fiberglass. I have watched a few videos and seen pictures of people using it and it looks doable for me. That being said I decided I am going to build a 1/2 scale model of the nose of the velomobile to understand the process.
Things I am interested to see:
- How much extra strength the ribs get with
- How much heavier the fiber glassed components will be over the raw
- Will I need to fiberglass the inside
The Game Plan:
- Cut a few rib pieces
- Fiberglass those pieces
- Cut some long strips and glue them to the ribs
- Fiberglass the outside
- Spray paint?
- Stress test
- put some weight on it
- throw some water on it
- throw stuff at it?
- Sit on it? (probably not)
Day 1 Cutting a rib July 27, 2020
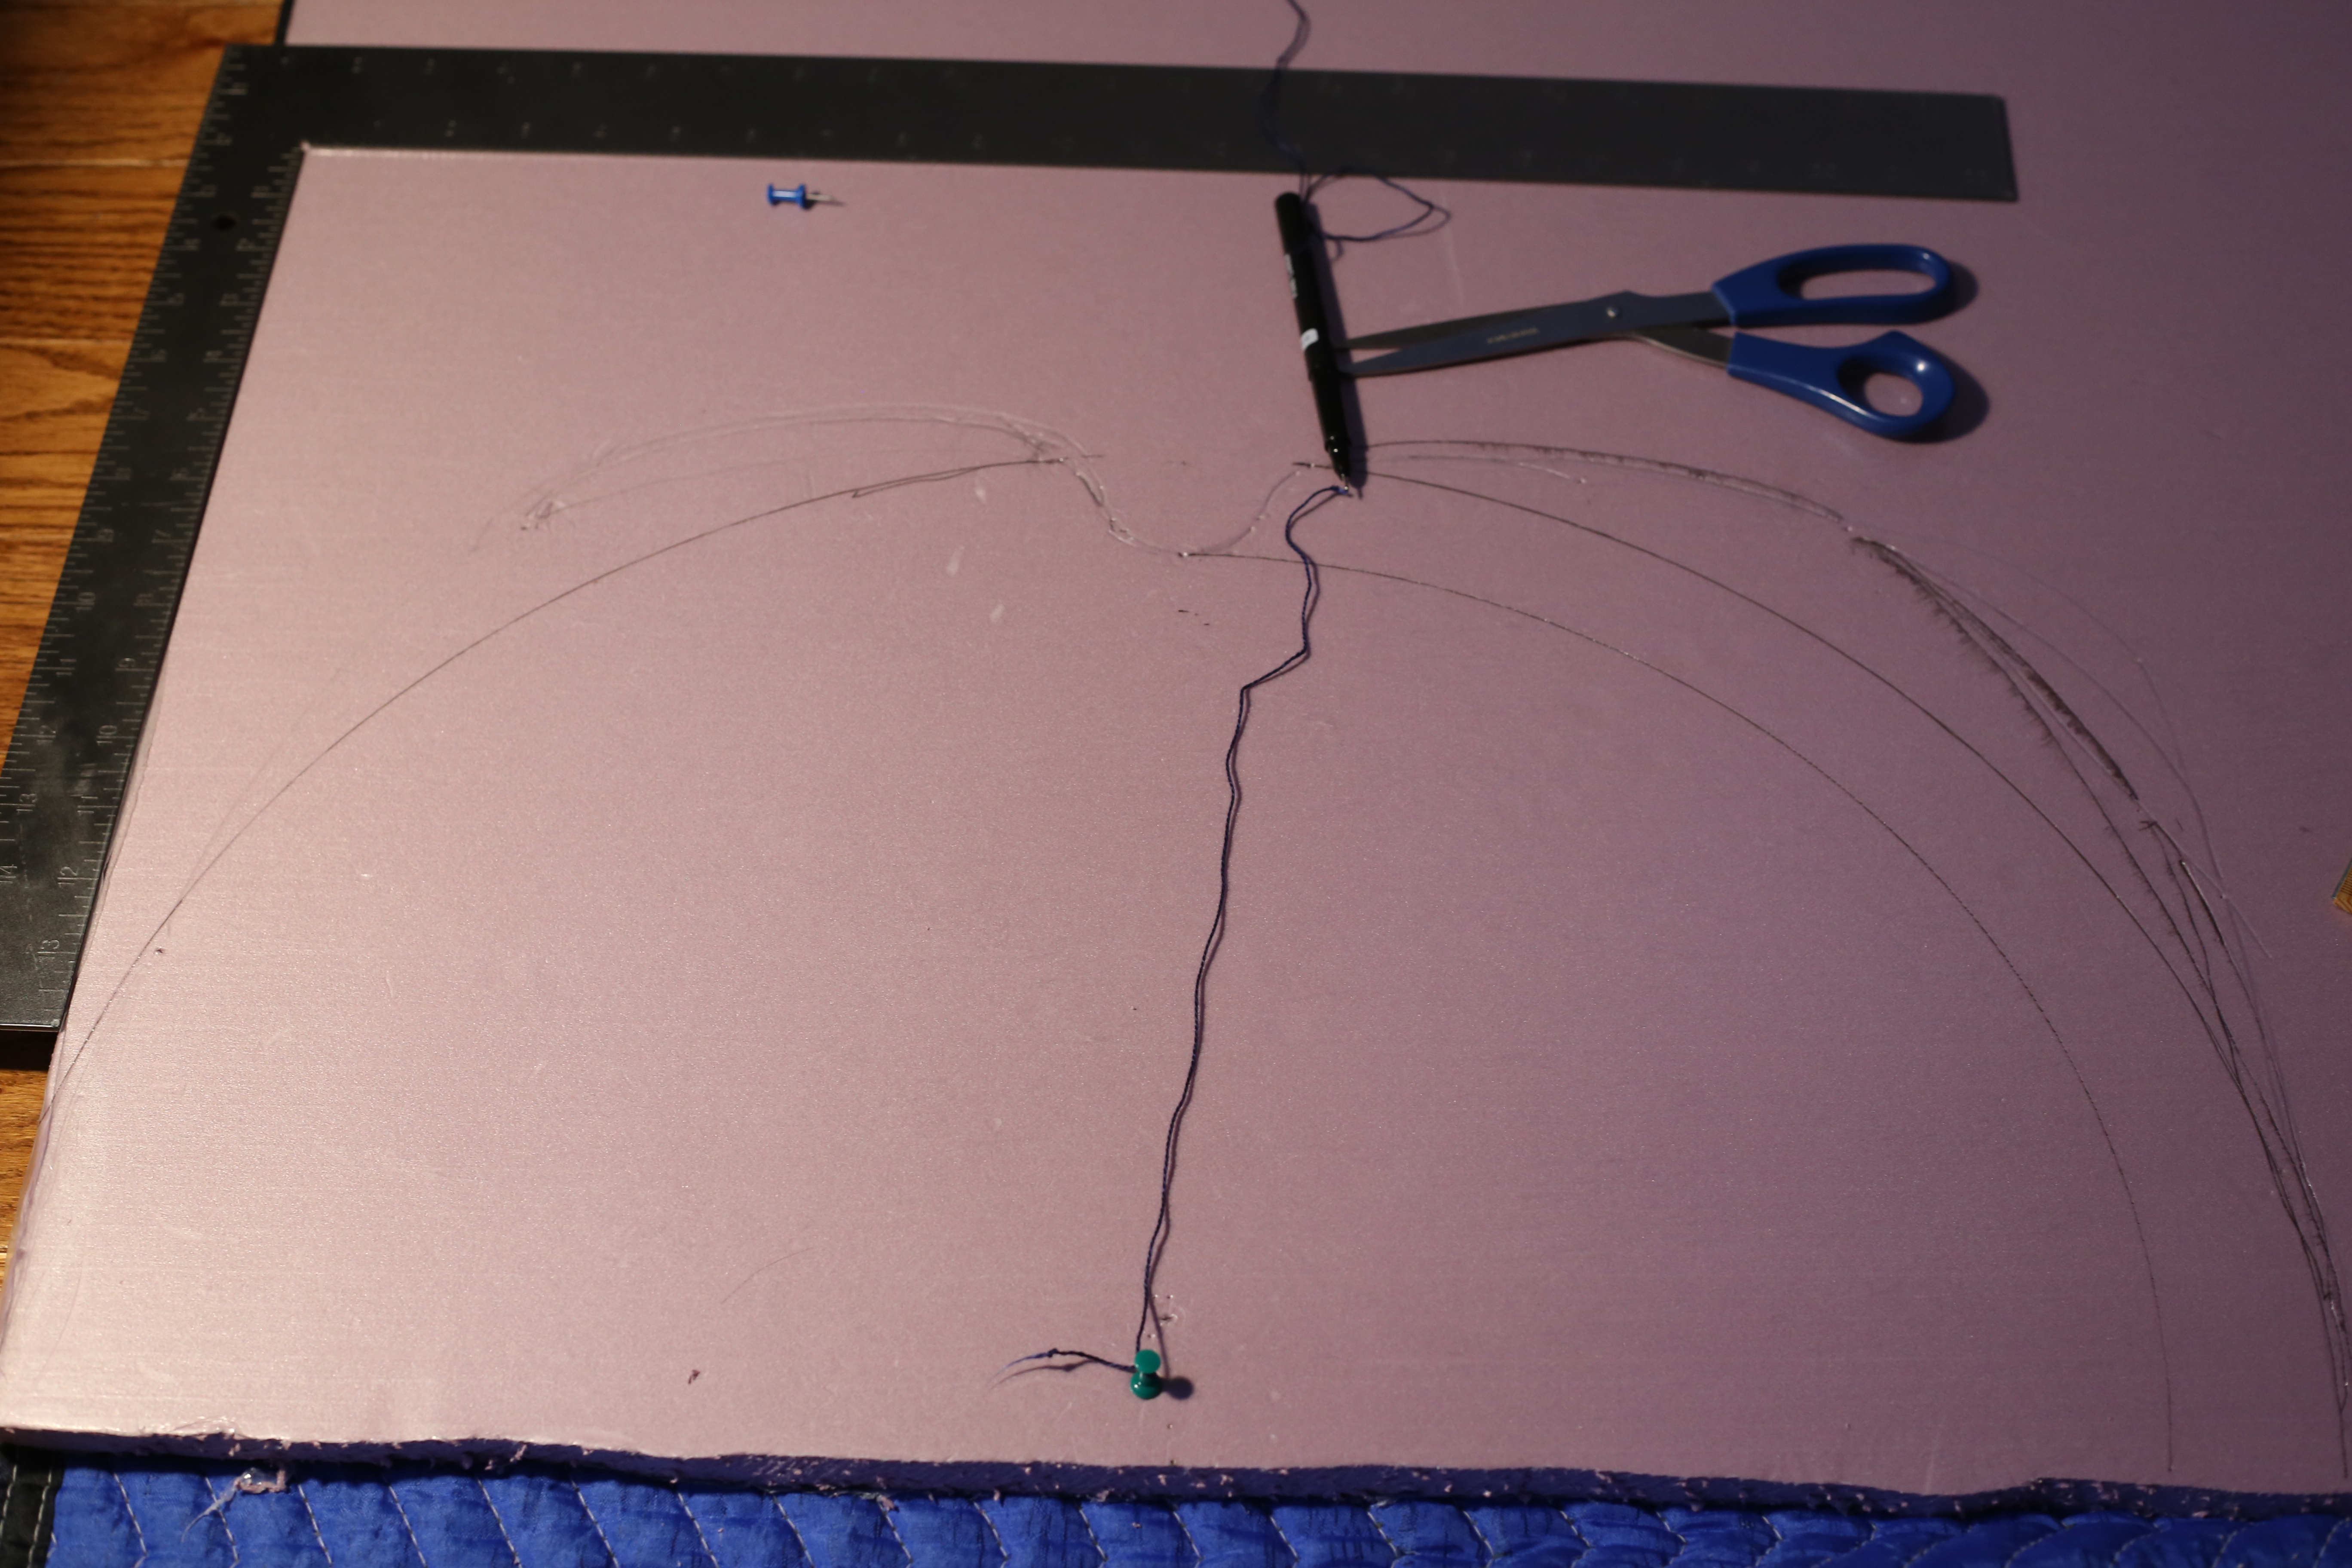
For this part I am not trying to do this exactly to my CAD model, I am just making some ribs that are generally the right idea. I had a bit of trouble creating curves without something to trace (confirming that I will definitely be getting the rib CAD model printed to trace as opposed to any by hand methods I was thinking up.) What I ended up doing was just tying a pen to a piece of string to make a circle. Worked for my purposes.
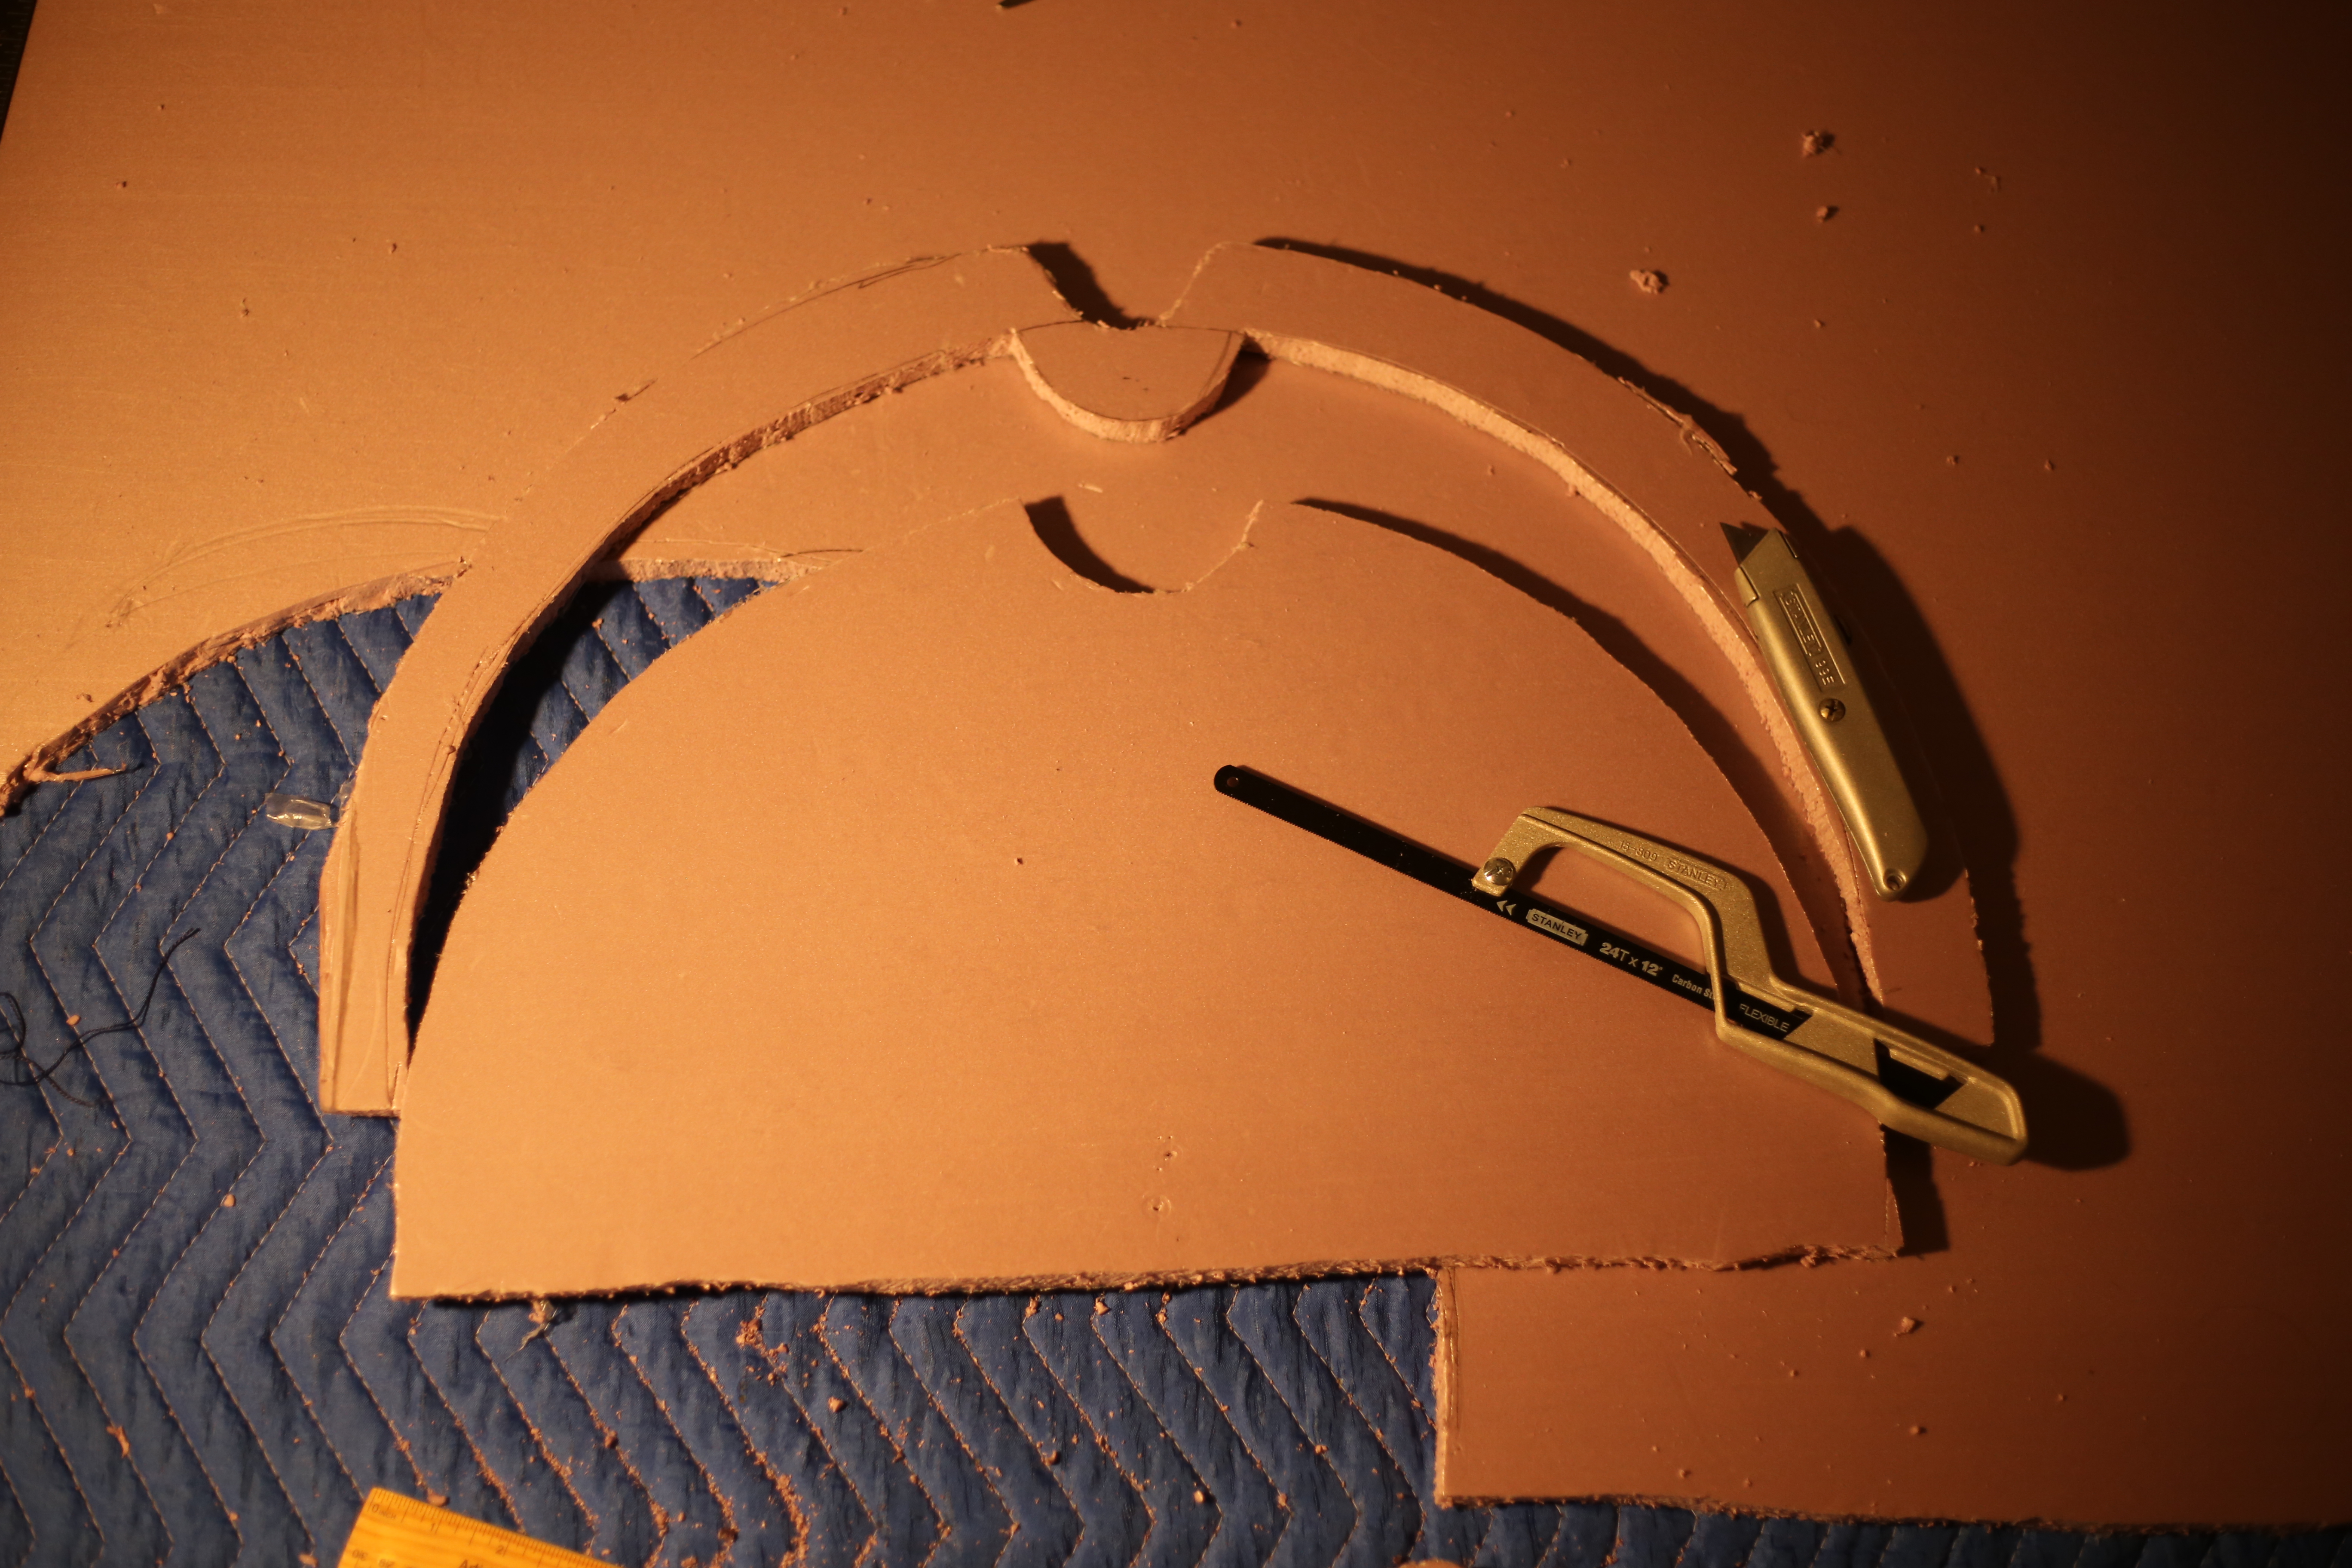
I did the cutting with a small saw and an exacto knife. Likely going to be my process going forward, with sandpaper as the last step to get things smoothed out.
Basically good enough for what it is for and who it is for. Excited to be actually getting started.