Oh CAD such a useful tool if you know how to use it well. Well I don’t, or at least I was a complete novice when I started this project. I have tinkered around in CAD before but I had never made anything that I intended to build or had any real aspirations of making it (well except for my 3D printed wallet + emergency pen phone case that I still may finish some day.)
I had everything setup, dimensions of the trike I intend to buy, hand drawn a few concept drawings, a mental image of what I was trying to achieve, and an internet’s worth of pictures of other velomobiles, so I sat down to start. Then I proceeded to obsess over this for a one week period, thankfully I am in between semesters and in between jobs so it’s not a big deal. Just a few late nights, an all nighter one night and it was finished.
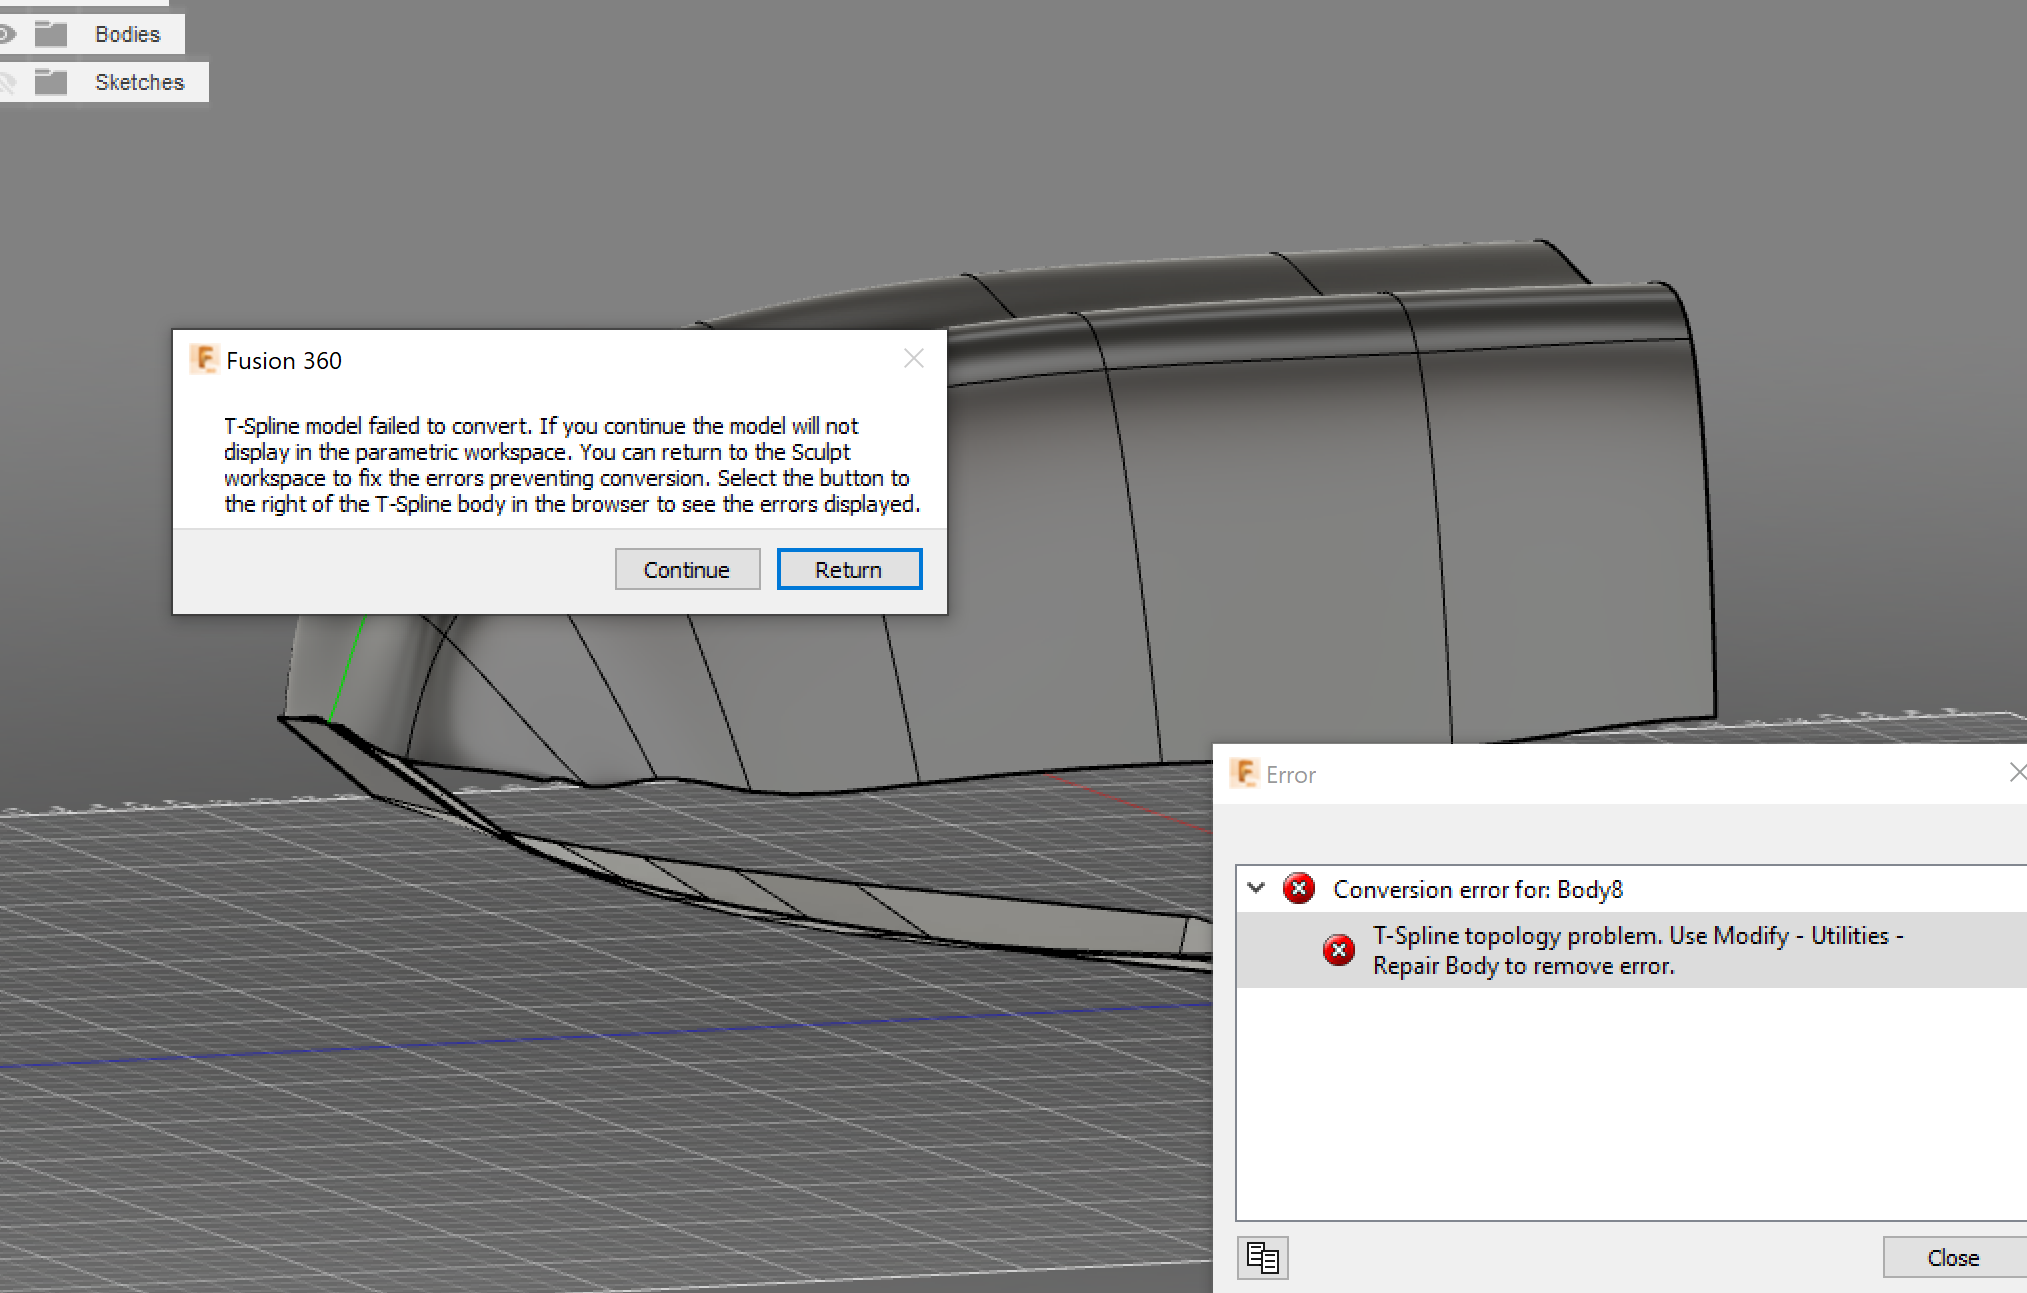
There were several iterations and total failures until I figured out the right way of doing it.
Some wrong ways:
Basically all the failed versions were different attempts at trying to put together the skin piece by piece. Here are some of the results:
The way that ended up working
The basic idea was:
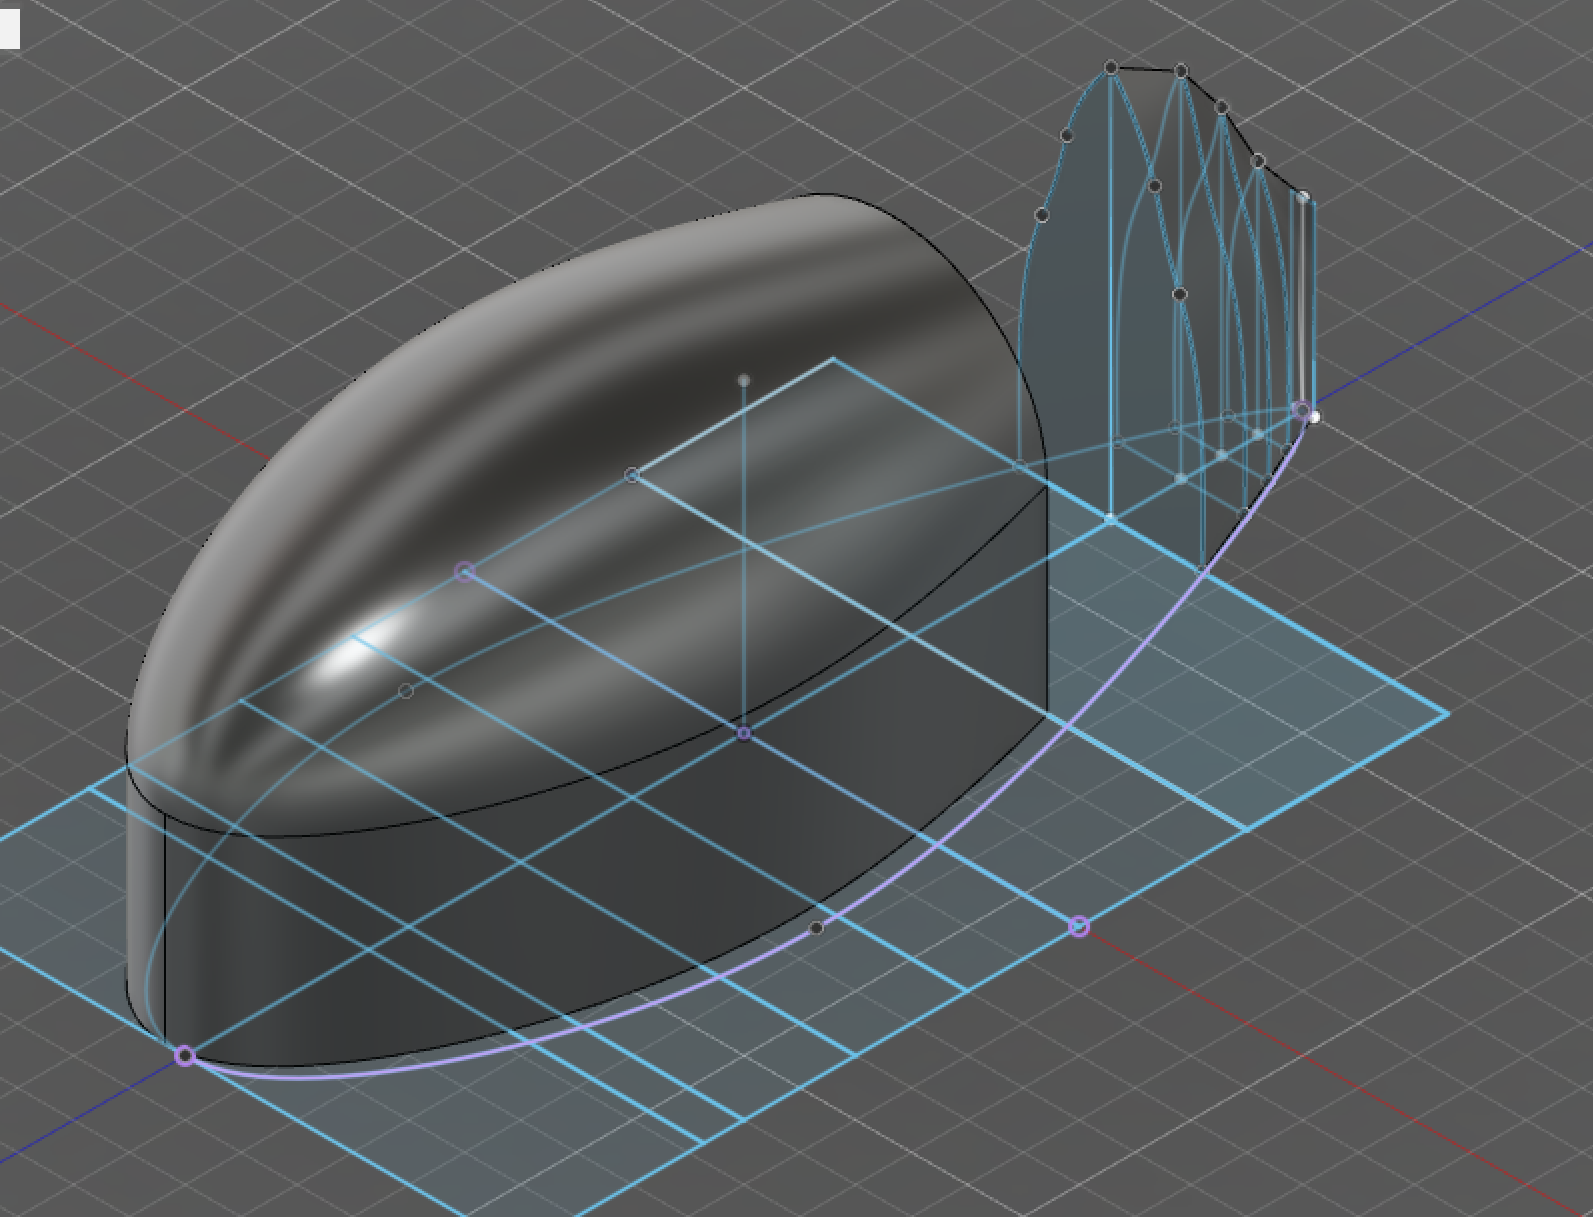
- Draw an ellipse as wide as the wheel track and 20% longer than the wheel base.
- Extrude the ellipse upward to the approximate height of the trike seat (for me that was 65-70 cm.
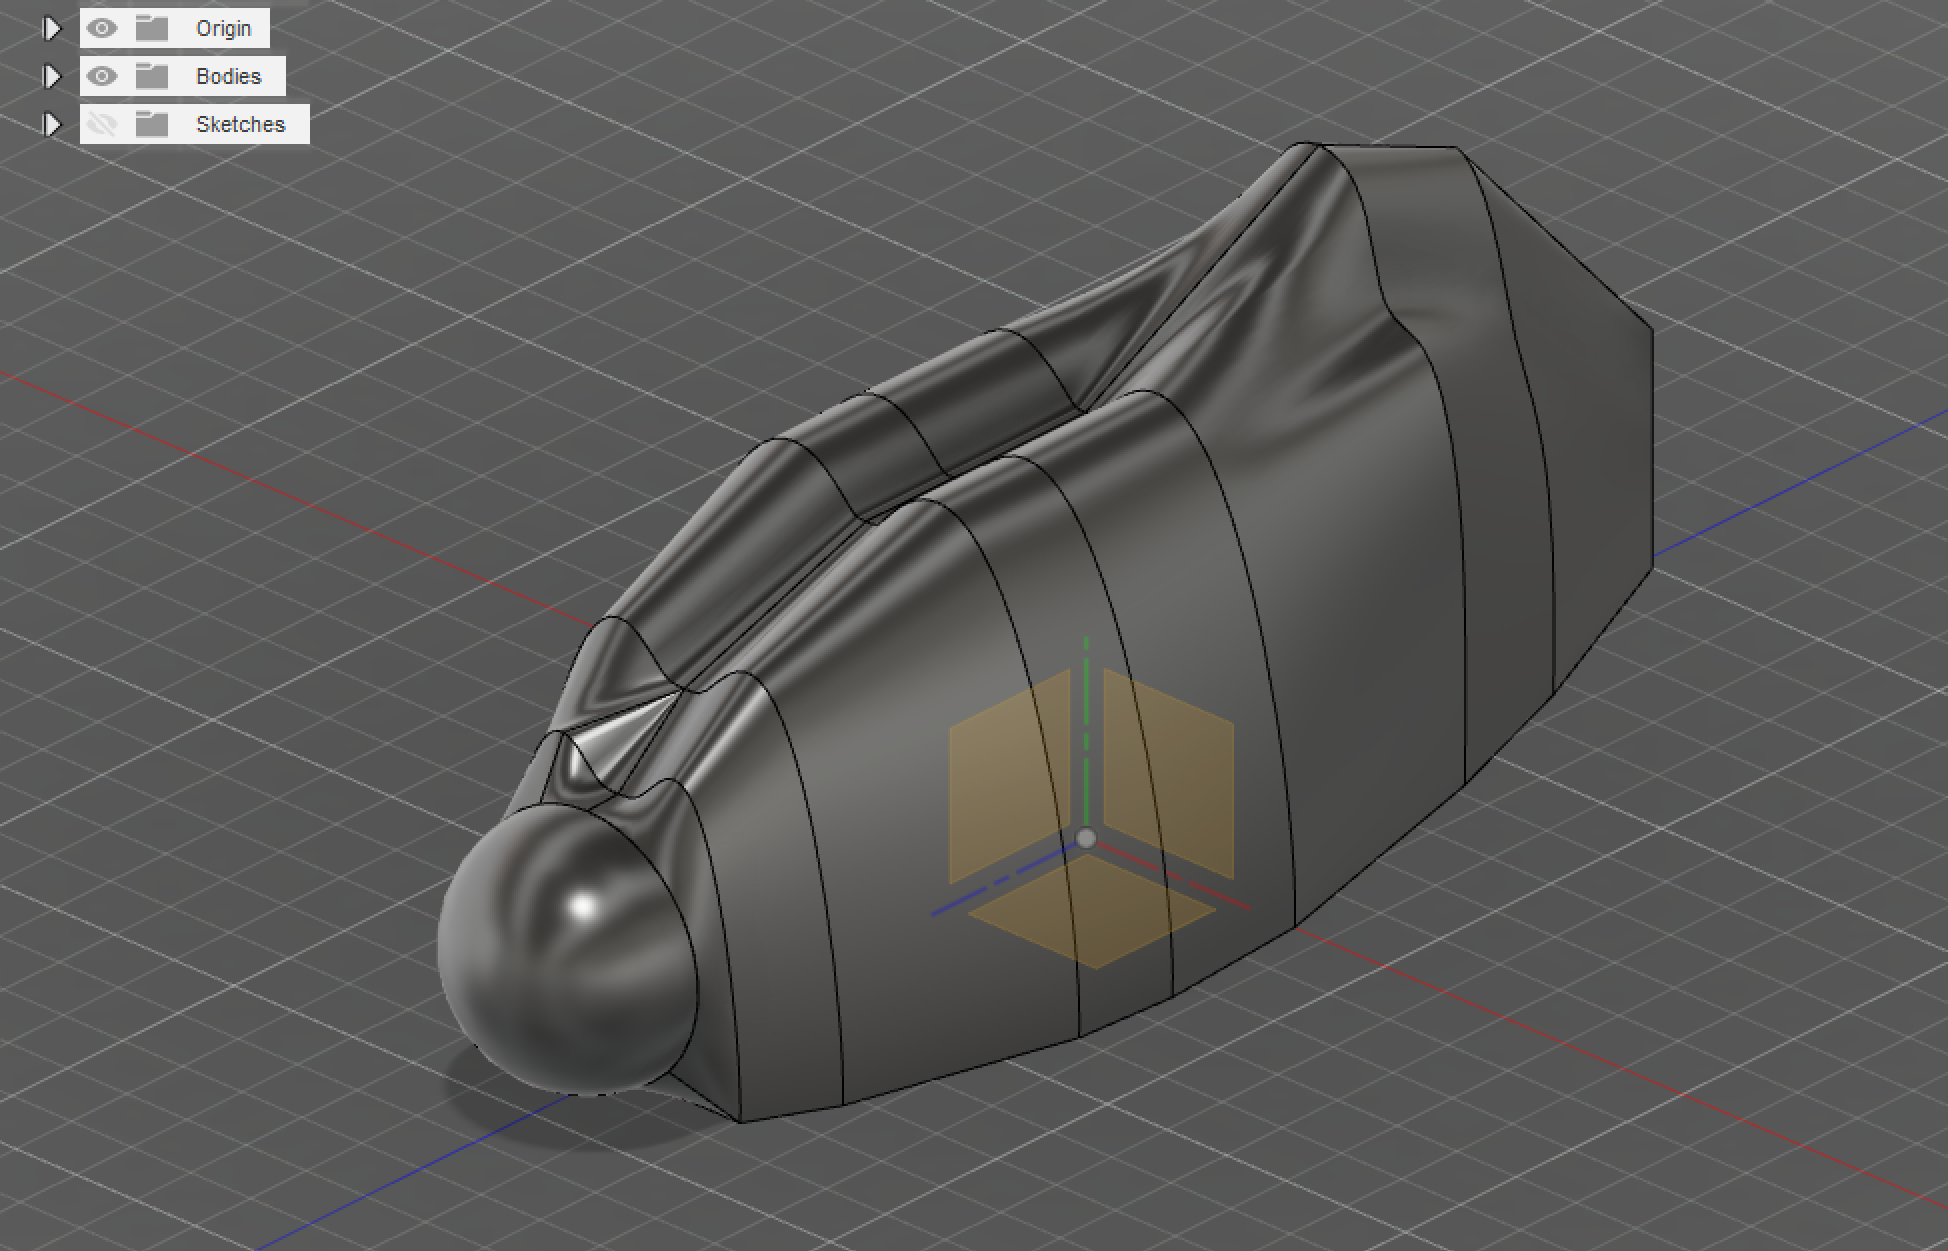
- Close the top of the extruded ellipse
- Create a line of symmetry so all changes to either the left or right side of the figure are mirrored.
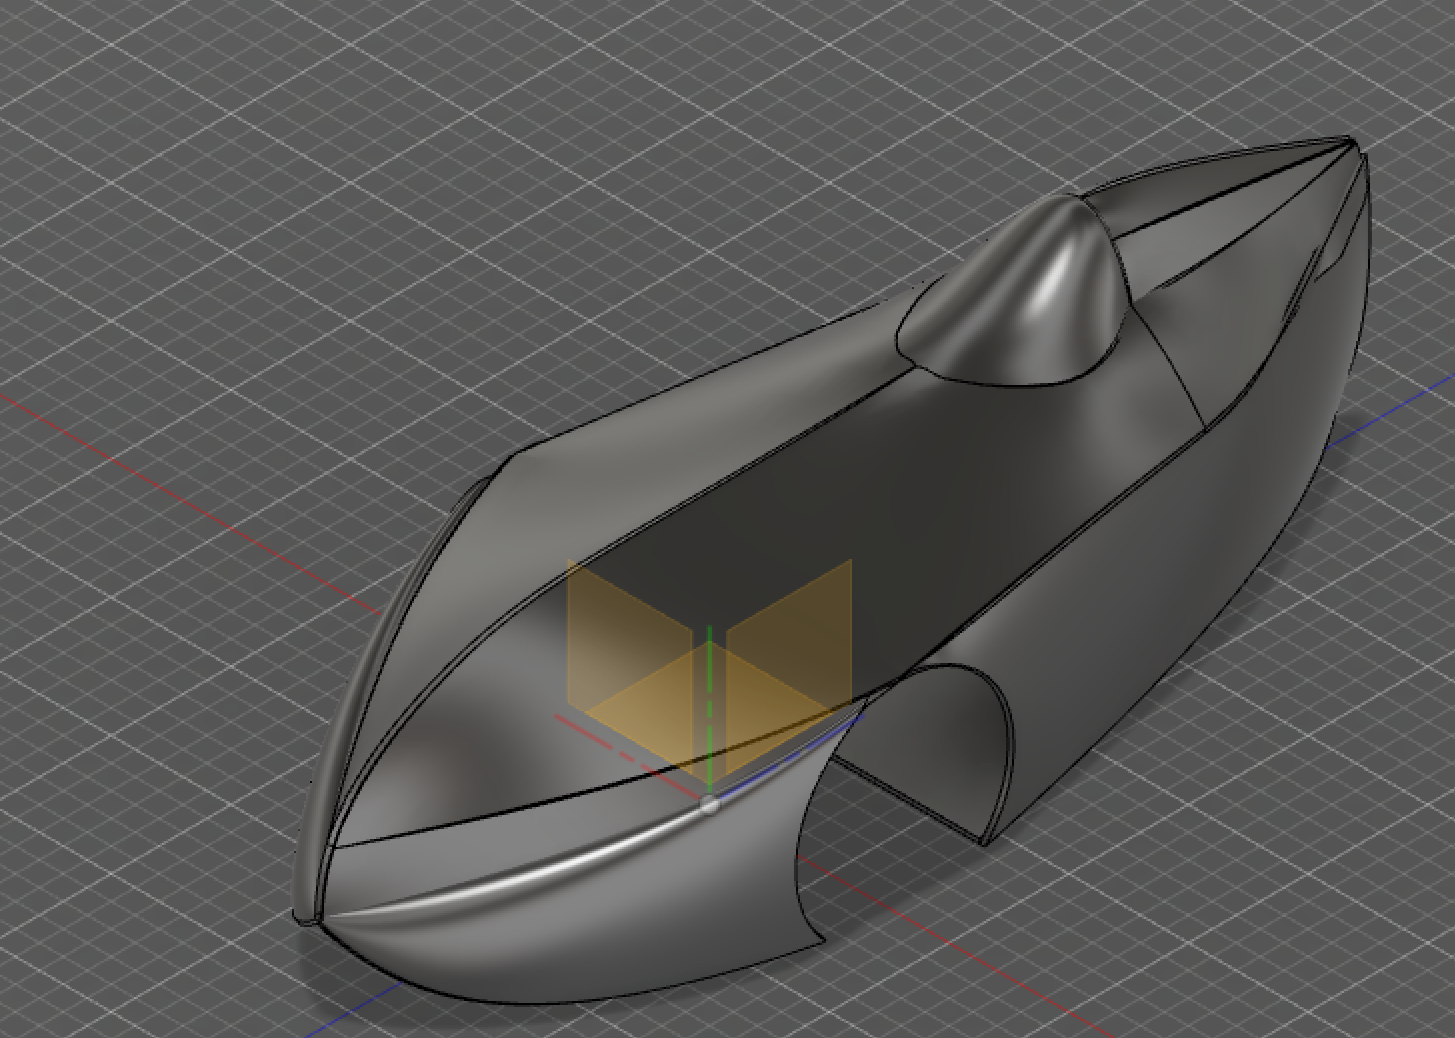
- Pull open the top so that you create the “cockpit” and back fairing.
- Pull the edges / points around until you have the shape you want.
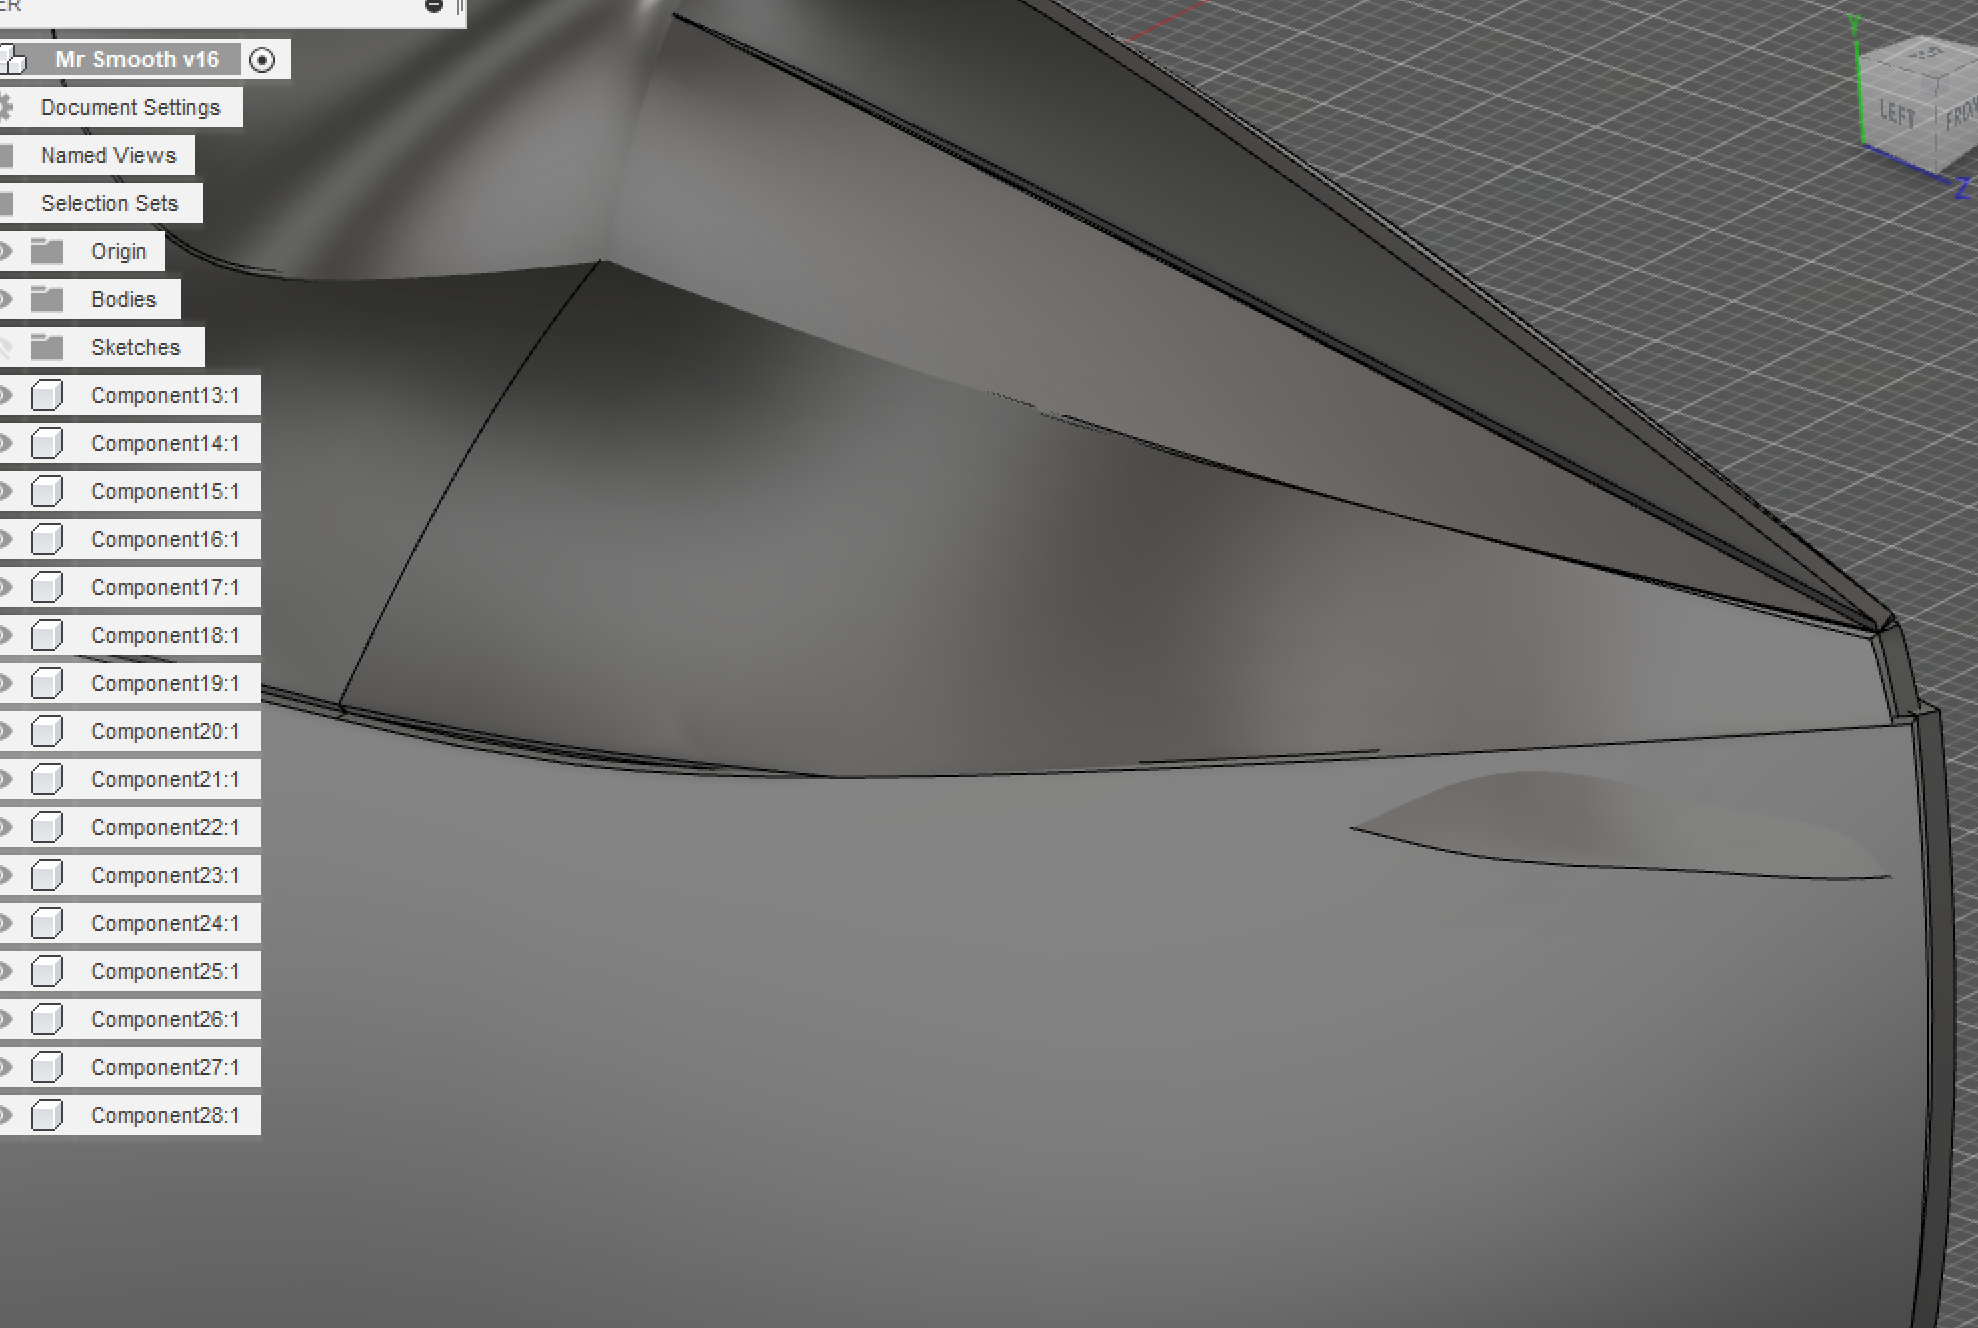
- Do a “thicken” command on the shell.
- Do boolean cuts to create the ribs that will actually be cut out of the foam material.
Short(ish) video tutorial of how I did it. You can totally fast forward through the parts where I ramble / forget what I was doing.